Adding a Channel and Configuring General Settings
You can create and configure multiple channels to group your BACnet networks and devices according to your own criteria. The Default Channel is created automatically during installation but you must still configure it.
To configure a BACnet channel:
- Open Workbench and in Project Explorer, expand your project > Data Connectivity > BACnet > Channels.
-
Do one of the following to open the settings of the desired channel:
- Double-click an existing channel.
-
Add a new channel:
- Right-click the Channels node and select Add Channel.
-
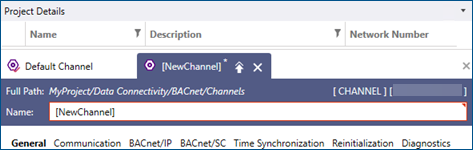
At the top of the new channel configuration dialog, enter the desired channel name.
-
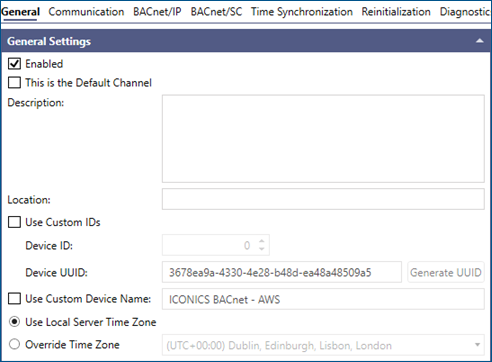
On the General tab in the General Settings section, make sure that the Enabled checkbox is selected (this is the default setting).
-
(Optional) Select the This is the Default Channel checkbox to set this channel as default. In the Project Explorer tree structure, the default channel is indicated by the icon with a red check mark
 .You do not need to clear that checkbox in the Default Channel settings (or any other channel that was previously set as default). This is done automatically.
 - (Optional) Fill in the Description and Location fields for easier identification of the device.
- (Optional) At the bottom of the General Settings section, change the time zone by switching from Use Local Server Time Zone to Override Time Zone and selecting the desired zone from the drop-down list.
- (Optional) Set up a custom device ID and name. Learn more
- Continue with setting up the next section, Read and Write Settings.